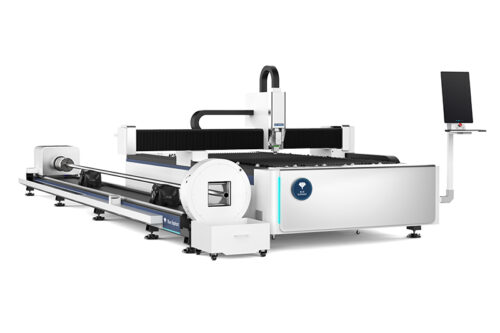
How To Generate 3D Design G-Code In ArtCAM 2012(the rotary device is in front )
Here are some simple G-code about 3 Design .
The video is as follows.
The steps are as follows.
Click “New Project”
Choose “Assembly/Import”
Choose the model you want to engrave
Click “Nudge/Centre Object”.After that,the model centerwill as same as coordinate center.
Click “Advanced/Set World Centre”in order to determine thecoordinate system
Click “Scale”
Input model size,”All” means that the model is scaled up or down.
Click “Create Rotary Relief”of Assembly
The function of“Toggle Relief Preview”(F10)is preview in 2D.The yellow representation of the workpiece needs to be retained. Reddish brown indicates blank and needs to be deleted
Click “Model/Rotate 90 Degrees/Clockwise”
Becausethe rotating device is along the X axis, the workpiece also needs to be along the X axis. Rotate the model 90 degrees to make the model parallel to the X axis.
Click “CreateRectangle”for selecting the model
Pls pay attention to the edge of the rectang
Click “Model/Crop”to delete blank area
Click ““Model/Set Position”to set model location,then choose “Bottom left pixel”and all axis zero the value
Click “3D View”“Toggle Assembly Visibility ”to close the original model
Check if the XY axis zero is at the top of the model
Click “Reliefs/Create Rotary Relief”,then click “Wrap Y values(around X axis)”
The model is set up, followed by the tool path.
Choose “Toolpaths/New 3D Toolpath/Machine Relief”.
In area “Finishing Options”,choose tool and set the parameters as what you want.
In area “Roughing Options”,choose tool and set the parameters as what you want
Alowance is the roughing allowance, which can be set slightly larger, 3-5mm best.
Click”Define Material”.“Material Thickness”here is the radius of workpiece.
Check if the thickness of the material is greater than the radius of the model. Must be greater than.
Then “Calculate Now”
Click “Toolpaths/Simulation/Simulate All Toolpath”
Click “Toolpaths”
Please note the contents of the Machine Relief in the upper left corner
Click “Toolpaths/Save Toolpath As…”
Name the file
Select the post processor:Rotary(Y Axis→C)
This post-processing can only save one type of knife at a time. Two are used, so save them separately.
Open the file you just saved
You can see the tool path you saved before


