I still remember the stress of my first CNC installation. The delivery team dropped off the machine, and I stood there, realizing I had no real plan for setup. What should I do first? How do I avoid mistakes?
That experience taught me that a CNC machine is only as good as its installation. A rushed or improper setup leads to calibration issues, part rejections, and even machine damage.
After years of working with CNC systems, I’ve figured out the best practices that lead to smooth installations. No fluff—just a reliable approach to getting your machine up and running.
This guide will walk you through every step, from site preparation to final checks. Whether you’re setting up a small unit or a large-scale system, you’ll get a process that works.
By the end, you’ll feel ready to install your machine with less stress and zero guesswork.
Let’s dive in!
Step#1: Site Preparation & Pre-Installation Planning
I’ve seen businesses invest in high-end CNC machines, only to run into problems because they skipped site preparation. Uneven floors, tight spaces, and poor ventilation create issues that slow down production. A little planning prevents major headaches.
A CNC machine is only as reliable as its installation. If the site isn’t ready, precision drops, and maintenance costs rise. Before uncrating the machine, confirm that the workspace meets all requirements.
Checking Floor Load Capacity and Leveling
A stable and level foundation is essential to ensure machine accuracy, safety, and longevity. Before installation, follow these key steps:
- Confirm The Floor’s Weight Capacity: Compare the machine’s total weight with the floor’s rated load-bearing capacity. Reinforce the area if needed to prevent sagging or structural issues.
- Inspect For Cracks Or Damage: Identify and repair any floor defects that could compromise machine stability.
- Use A Machinist Level: Check the floor for uneven surfaces. Correct any variations using shims or leveling compounds.
- Mark Machine Placement: Clearly outline the footprint of the machine to avoid repositioning errors during installation.
Allocating Space for Machine Movement and Maintenance
Proper spacing supports safe operation, smooth workflow, and simplified servicing. Consider the following during layout planning:
- Check Clearance Around The Machine: Ensure there’s sufficient space for operators to move, load materials, and operate without obstruction.
- Allow Room For Tool Changes And Maintenance: Technicians should have clear access to electrical panels, lubrication points, and serviceable parts.
- Plan For Future Expansion: Evaluate whether the layout allows for equipment additions or upgrades as production needs evolve.
- Account For Material Flow: Optimize paths for raw materials and finished products to minimize handling time and avoid congestion.
Preparing Necessary Tools and Safety Gear
A smooth installation starts with having the right tools and protective equipment. Prepare the following before delivery:
- Essential tools:
- Precision levels for machine alignment
- Torque wrenches for securing bolts
- Measuring tapes and chalk for marking positions
- Alignment gauges for calibration
- Lifting equipment like forklifts or cranes for safe handling
- Safety gear for workers:
- Safety gloves to prevent hand injuries
- Eye protection for handling debris or coolant systems
- Steel-toed boots for moving heavy parts
- Hearing protection if working in a noisy environment
- Installation supplies:
- Anchoring bolts if securing the machine to the floor
- Shims or leveling pads for precise adjustments
- Coolant and lubrication fluids for initial setup
Step#2: Machine Unloading and Positioning
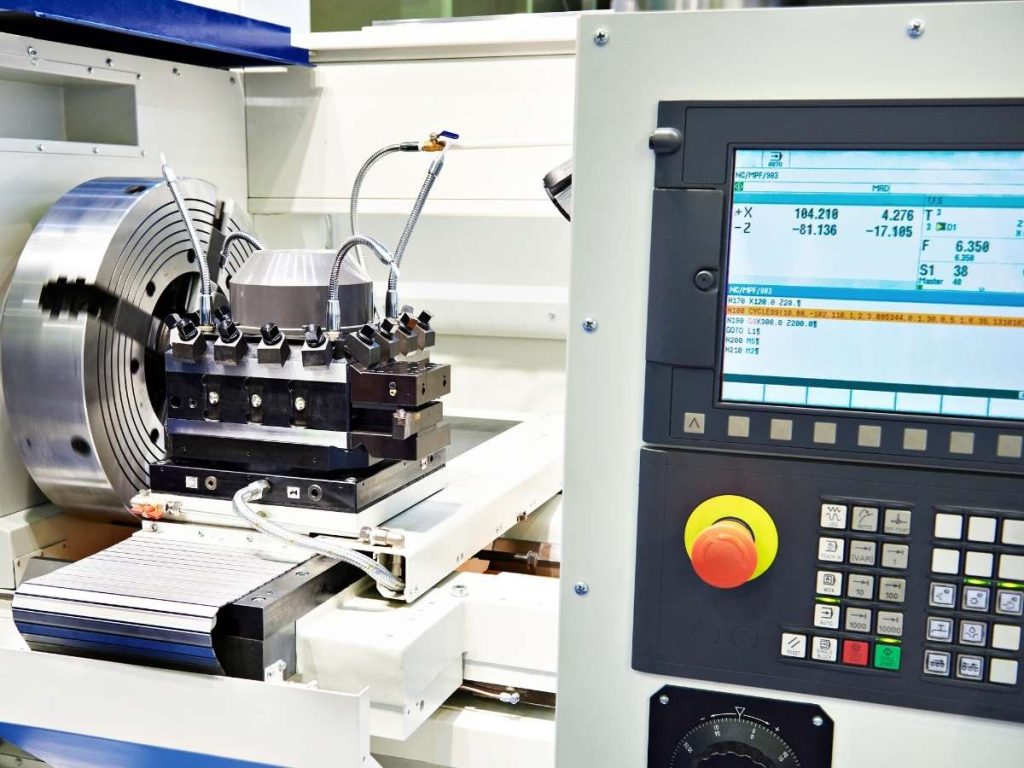
A CNC machine is a major investment. Mishandling during unloading or positioning can cause misalignment, structural damage, or even safety hazards.
A careful unloading process guarantees the machine arrives in perfect condition. Proper positioning improves workflow and minimizes future adjustments. Before turning on the machine, follow these steps to get it placed correctly.
Inspecting the Machine for Transit Damage
Shipping and handling can impact precision machinery. Before unloading, take time to check for any visible damage.
- Examine The Exterior For Dents, Cracks, Or Loose Parts: Even minor impacts can affect internal components.
- Inspect Protective Covers And Fasteners: If anything has shifted during transport, note it before removing packaging.
- Check Shock Sensors Or Indicators: Some machines come with impact sensors. If activated, contact the supplier before proceeding.
Catching problems early prevents future breakdowns and warranty disputes. If anything looks off, pause installation and get a professional assessment.
Choosing the Right Equipment for Safe Unloading
CNC machines are heavy and delicate. The wrong lifting method can lead to costly mistakes. Use proper equipment and follow safety guidelines.
- Confirm Weight And Center Of Gravity: Check the machine’s manual for lifting points and weight distribution.
- Attach Lifting Straps Or Hooks At Designated Points: Never lift a CNC machine from unapproved areas, as this can warp the frame.
- Move Slowly And Communicate: Have a clear plan and designated personnel guiding the unloading. Sudden movements can cause shifting.
A smooth unloading process prevents unnecessary stress on the machine and reduces installation risks.
Securing the Machine to the Foundation
A stable foundation is necessary for precision machining. Without proper anchoring, vibrations and shifts can reduce accuracy.
- Verify If Anchoring Is Required: Some CNC machines must be bolted to the floor, while others sit on vibration-dampening pads.
- Use Leveling Bolts Or Shims: Adjust these to eliminate uneven contact points before finalizing placement.
- Secure Bolts To The Foundation: Follow the manufacturer’s torque specifications to avoid over-tightening.
- Double-Check Stability: Once secured, recheck the level and alignment before moving to the next step.
A well-secured machine ensures accuracy and long-term reliability.
Step#3: Electrical and Power Connection
After securing the machine in its final position, the next step is setting up power. A CNC machine won’t function without a stable and properly connected electrical system. Poor wiring can lead to breakdowns, voltage fluctuations, or even serious safety hazards.
Power setup isn’t just about plugging in the machine. It requires checking voltage compatibility, proper grounding, and secure electrical connections. Skipping these steps risks damaging internal components.
Verifying Power Requirements and Voltage Compatibility
Before wiring the machine, confirm that your power supply matches the CNC’s requirements. Incorrect voltage or phase alignment can cause motor failures and control errors.
- Check The CNC Machine’s Power Specifications: Find the voltage, phase, and amperage requirements in the manual.
- Inspect The Facility’s Electrical Supply: Use a multimeter to measure actual voltage output and compare it with machine requirements.
- Confirm Phase Alignment: Most CNC machines run on three-phase power. Incorrect phase order can cause motors to spin in the wrong direction.
- Plan For Surge Protection: Installing a voltage stabilizer or surge protector can prevent sudden power spikes from damaging sensitive components.
Verifying these details before connecting the machine prevents costly electrical failures.
Connecting the Machine to the Electrical Panel Safely
Once power requirements are confirmed, it’s time to wire the CNC machine. Electrical work must be done correctly for reliability and safety.
- Only Allow A Qualified Electrician To Handle Wiring: Incorrect connections can lead to serious malfunctions or fire hazards.
- Use The Correct Wire Gauge And Connectors: Follow manufacturer recommendations to prevent overheating or voltage drops.
- Install Proper Grounding: A poor ground connection can cause electrical interference, affecting machine performance.
- Secure All Connections Properly: Loose wires can cause intermittent power failures or damage internal circuits.
After wiring, do a power-on test to check for errors. If everything runs smoothly, the machine is ready for pneumatic and coolant system setup.
Step#4: Pneumatic and Coolant System Setup
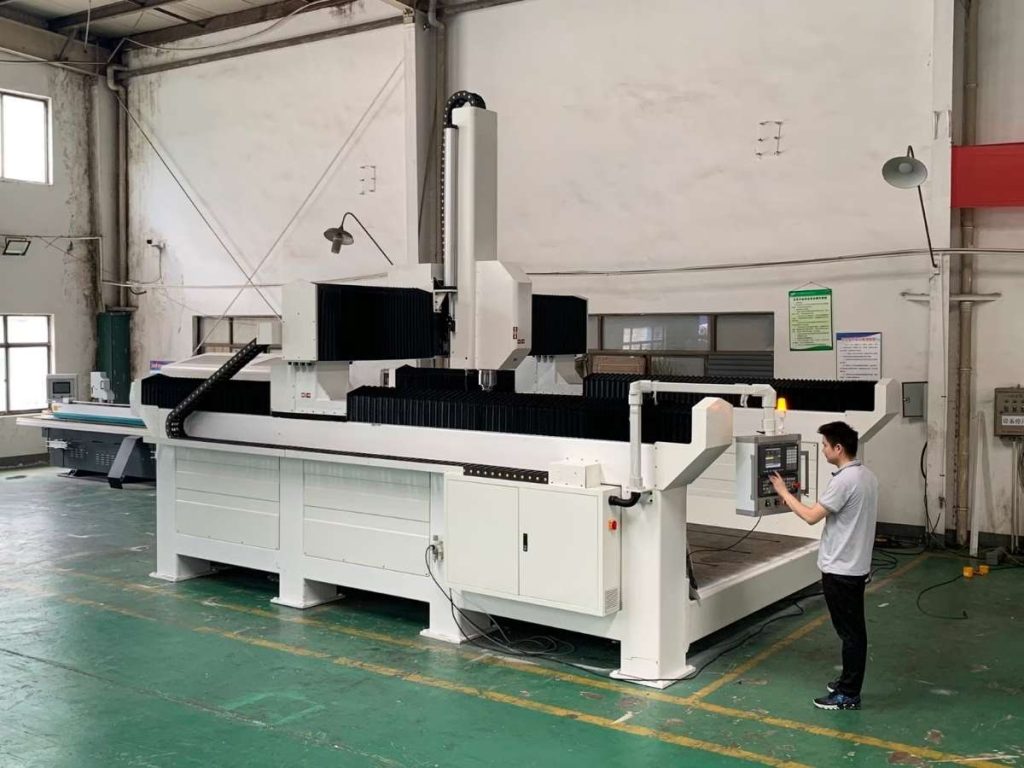
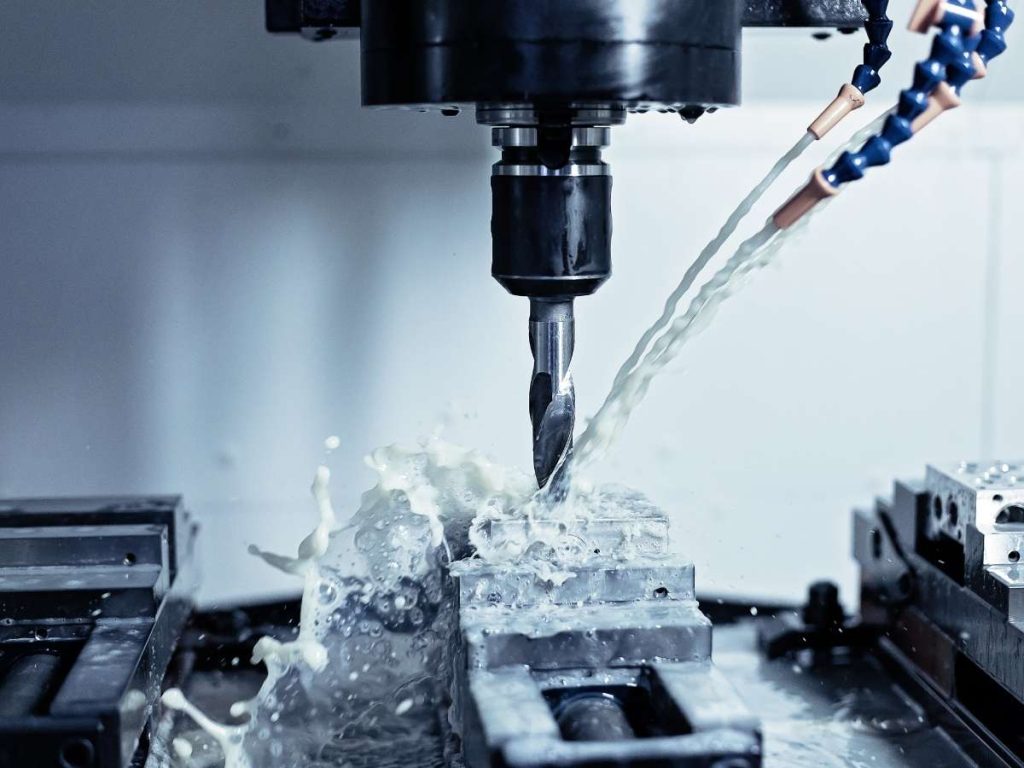
After powering up the machine, the next step is setting up the pneumatic and coolant systems. These systems are essential for smooth operation. Without proper air pressure, tool changes and workholding can fail. Without coolant, heat buildup can reduce tool life and cause machining errors.
Connecting Coolant Reservoirs and Pumps
Coolant is critical for temperature control and chip removal. A poor setup can lead to overheating, tool breakage, and inconsistent machining results.
- Check The Coolant Type: Use the manufacturer’s recommended coolant for your specific machine and materials.
- Connect Hoses Securely: Attach coolant lines from the reservoir to the pump and cutting area with tight, leak-free fittings.
- Prime The Pump: Before running the system, allow coolant to circulate and remove any trapped air pockets.
- Test Coolant Flow: Run the system at low speed to confirm even distribution and adjust flow rates as needed.
Proper coolant circulation prevents overheating and improves machining efficiency.
Checking for Leaks in Hoses and Fittings
Leaks reduce system efficiency and create safety hazards. Before running production jobs, inspect all pneumatic and coolant lines.
- Visually Inspect All Connections: Look for loose fittings or wet spots around hose joints and connectors.
- Pressurize The System And Listen For Leaks: A hissing sound may indicate an air or coolant leak that needs to be addressed.
- Check For Proper Hose Routing: Avoid sharp bends, twists, or kinks that could restrict airflow or coolant flow.
- Tighten Or Replace Faulty Fittings: Loose or worn-out connectors should be immediately secured or swapped out.
- Monitor Pressure Gauges: Sudden drops in pressure may point to an undetected leak that requires investigation.
Fixing leaks before production prevents unexpected breakdowns and maintains machine accuracy.
Step#5: Axis Calibration and Machine Leveling
A CNC machine can have the best power and coolant setup, but without proper leveling and axis calibration, precision will suffer. I’ve seen machines that looked fine at first, but small misalignments led to inaccurate cuts and increased tool wear. The machine must be perfectly level, and every axis must move accurately before running production.
Calibration is not a one-time task. It guarantess that movements match programmed values, preventing errors in machining. Skipping this step leads to rejected parts, wasted material, and frustrated operators.
Using a Precision Level to Align the Machine Base
If the machine isn’t level, cutting accuracy will be off. Even small tilts can cause vibrations and reduce tool life.
- Use a Machinist Level, Not a Standard One: A precision level detects minute differences that can affect performance.
- Check Leveling Points Across the Entire Machine: Measure at multiple spots, including the corners and the center of the base.
- Adjust Leveling Feet or Shims as Needed: Tighten or loosen the leveling bolts until the machine sits evenly.
- Confirm Stability: After leveling, apply light pressure to different sides. The machine should not rock or shift.
A properly leveled machine improves accuracy and reduces mechanical stress.
Calibrating Each Axis for Accurate Movements
If the machine moves even slightly off its intended path, parts won’t meet specifications. Calibration ensures each axis follows programmed instructions precisely.
- Set Up a Calibration Tool or Dial Indicator: Attach a measuring device to verify actual axis movement.
- Move Each Axis Incrementally and Measure Displacement: Compare expected versus actual travel distances for each axis.
- Check Backlash on Lead Screws or Ball Screws: Excessive backlash causes inconsistent cuts. Adjust mechanical or software settings as needed.
- Run a Test Program With Controlled Movements: Use a simple geometry like a square or circle to identify calibration issues.
Proper calibration eliminates positioning errors and improves repeatability.
Testing Spindle Runout and Compensation Adjustments
The spindle is the heart of the CNC machine. If it has excessive runout, tools will wear unevenly, and cuts will be inaccurate.
- Use a Dial Indicator to Check Spindle Runout: Position the indicator tip against the spindle face and rotate slowly.
- Measure the Deviation: If the needle deflection exceeds tolerance, adjustments are required.
- Apply Runout Compensation in the Control System: Some machines support software-based correction for minor runout errors.
- Test With a Cutting Tool and Material: Make a sample cut and inspect the finish for chatter or irregularities.
A stable, accurate spindle maintains high-quality machining and extends tool life.
Step#6: CNC Software Installation and Configuration
A perfectly leveled and calibrated CNC machine is useless without the right software. A small mistake in configuration can lead to ruined parts and wasted materials.
Installing the right software and loading accurate tool data, the machine operates smoothly. Without these steps, the CNC won’t respond correctly to commands.
Installing the Correct CNC Control Software Version
The software version must match the machine’s hardware and control system. Using outdated or incorrect software can cause performance issues.
- Check the Manufacturer’s Recommended Software Version: Verify that you’re installing the correct edition for your specific machine model.
- Download Software From Official Sources: Avoid using third-party or outdated versions that may lead to compatibility problems.
- Install the Software on the CNC Control Unit: Follow on-screen prompts carefully and ensure all necessary files load successfully.
- Restart the System and Test Basic Functions: Confirm that the control panel responds as expected before proceeding with further configuration.
A correct software installation prevents unexpected malfunctions during operation.
Importing Tool Offsets and Program Data
Every CNC machine requires precise tool offsets and machining parameters. Without them, cuts will be inaccurate, and tools will wear unevenly.
- Load Tool Offset Data From the Manufacturer or Previous Setup: Tool lengths and diameters must be correct to prevent collision or machining errors.
- Verify the Coordinate System and Zero Points: Ensure the machine understands the origin and limits of the workpiece.
- Input Feed Rates and Spindle Speeds Based on Material Type: Match settings to the material to avoid tool damage or poor surface finish.
- Test With a Dry Run Before Machining: Run the program without cutting to confirm proper tool paths and machine behavior.
- Save and Back Up Configurations: Store tool offset and program data to prevent data loss during power outages or resets.
Accurate tool data ensures every cut is precise, reducing scrap and tool wear.
Step#7: Safety Validation & Operator Training
After installing the software and setting up tool offsets, the machine is almost ready to run. But before production starts, safety checks and operator training must come first. A single mistake—whether a missing guard, an untested stop button, or an untrained operator—can lead to accidents or equipment damage.
Every moving part needs testing, and every operator must understand how to handle the machine correctly. A well-prepared team not only for safety but also improves efficiency and reduces downtime.
Running Safety Checks on Moving Components
CNC machines use high-speed spindles, sharp cutting tools, and automated movements. Any mechanical failure or overlooked issue can create serious risks.
- Test All Emergency Stops: Press each button and verify that the machine stops immediately. Reset and test again for full functionality.
- Check Safety Guards and Interlocks: Open and close all protective covers to ensure they properly disable machine functions when triggered.
- Run a Slow-Speed Dry Cycle: Monitor for unusual noises, misalignment, or unexpected movements before operating at full speed.
- Inspect Spindle and Tool Holders: Make sure all tools are securely clamped. Loose tools can break free and pose serious hazards.
Addressing safety concerns before operation prevents costly breakdowns and protects workers from injury.
Providing Hands-On Training for Machine Operators
Even the most advanced CNC machine won’t perform well if the operator isn’t trained. Misuse leads to poor-quality parts, wasted materials, and avoidable wear on the machine.
- Teach Startup and Shutdown Procedures: Operators should follow a consistent sequence to avoid damaging machine components.
- Demonstrate Manual Controls and Jog Functions: Operators need confidence with basic movements before running automated cycles.
- Explain Tool Changes and Workholding Setups: Proper handling prevents part misalignment, tool crashes, and unnecessary rework.
- Review Error Messages and Troubleshooting Basics: Operators should understand alerts and know how to respond quickly and effectively.
- Supervise a Practice Run: Allow operators to run a test part under guidance to reinforce correct procedures and build confidence.
Proper training leads to safer operations and more consistent machining results.
Step#8: Final Testing
Now that safety checks are complete and operators have been trained, the CNC machine is almost ready for production. But before running live jobs, it needs to pass a final round of testing. Skipping this step can lead to misaligned cuts, wasted materials, or unexpected downtime.
Final testing guarantees the machine responds accurately, runs smoothly, and operates under load without issues. A controlled test run helps catch small errors before they become costly production problems.
Running a Sample Program to Check Machine Response
The first real test is running a simple program to verify machine movement, tool changes, and cutting accuracy.
- Load a Basic Test Program: A simple toolpath with straight cuts and circular motions checks all axis movements.
- Run a Dry Cycle Without Cutting Material: Watching the machine move without engaging material helps detect unexpected behavior.
- Verify Each Axis Reaches the Correct Coordinates: Any deviation from the programmed path could indicate calibration issues.
- Test Spindle Speed and Tool Changes: Transitions between tools should be smooth, accurate, and properly aligned.
- Check Feed Rates and Acceleration: Jerky or inconsistent motion may signal incorrect parameter settings.
A successful dry run confirms that the machine is following programmed instructions correctly.
Completing a Final Inspection Before Full Operation
Before moving into full production, the last step is a final inspection to confirm everything is stable and secure.
- Recheck All Mounting Bolts and Supports: Loose fasteners can cause shifting during high-speed operations.
- Confirm All Safety Features Still Work: Emergency stops, interlocks, and limit switches must be functioning correctly.
- Save Machine Settings and Offsets: Back up calibration and configuration data to simplify future recovery.
- Record Machine Baseline Performance: Log vibration levels, temperature readings, and operating speeds for future maintenance reference.
- Sign Off on Production Readiness: Have operators and supervisors confirm that the machine meets all operational and safety requirements.
Once everything checks out, the CNC machine is officially ready for full-scale operation.
Conclusion
Installing a CNC machine may seem complex, but with the right steps—planning, setup, alignment, and testing—it becomes a smooth process.This guide gave you everything you need to start strong and run safely.
Now it’s time to take the next step in scaling your production.
Finding a CNC machine supplier to upgrade your production setup? At Blue Elephant, we offer precision CNC machines and expert installation support to help you succeed.
Contact us today! Let’s make your installation a success.
Explore More Helpful Resources
Want to learn more? Here are some articles filled with valuable tips and information to guide you further:
- How to Use a CNC Machine?
- What Are CNC Machines Used For?
- Top 9 Fiber Laser Cutting Machine Manufacturers
Still haven’t found what you’re looking for? Don’t hesitate to contact us. We’re available around the clock to assist you.


