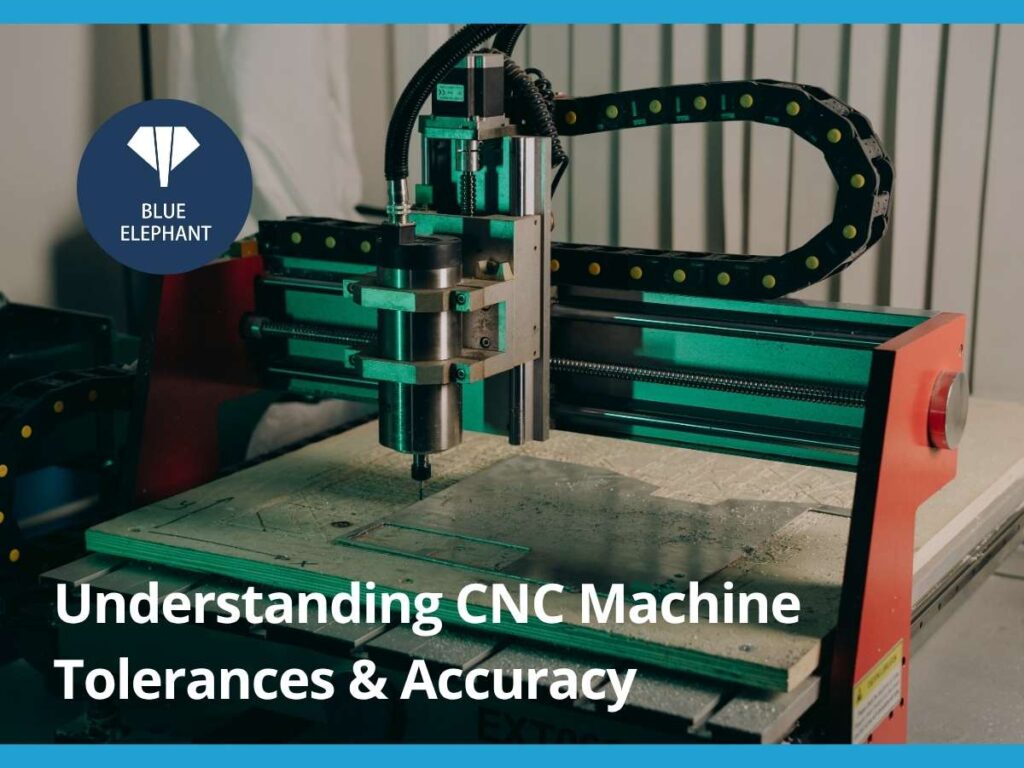
I once had a client reject an entire order because the tolerances were slightly off. The parts worked, but they didn’t meet spec. It was a harsh reminder that in CNC machining, precision isn’t just a preference, it’s a requirement.
Every fraction of a millimeter matters, and without the right accuracy, even the best-designed parts can fail. That’s why understanding CNC tolerances is so important.
This review isn’t just about numbers, it’s about practical accuracy and what businesses need to know when sourcing CNC parts or machines. No unnecessary jargon, just clear insights.
By the end, you’ll know how different machines handle tolerances, what accuracy means for production, and how to get the precision you need without costly surprises.
So, let’s start!
1. What Are CNC Machine Tolerances?
CNC machine tolerances refer to the allowable variation in a machined part’s dimensions. No machine can produce a part exactly to the nominal measurement every time, so tolerances define an acceptable range within which deviations won’t affect performance.
For example, if a hole is specified to be 10.00 mm ± 0.05 mm, the actual measurement can be anywhere between 9.95 mm and 10.05 mm and still be considered within tolerance. This small margin of error ensures parts fit together properly and function as intended.
The tighter the tolerance, the more precise the machining process needs to be. However, tighter tolerances also increase costs due to longer machining times, specialized tooling, and additional quality control measures.
2. Types of CNC Machine Tolerances
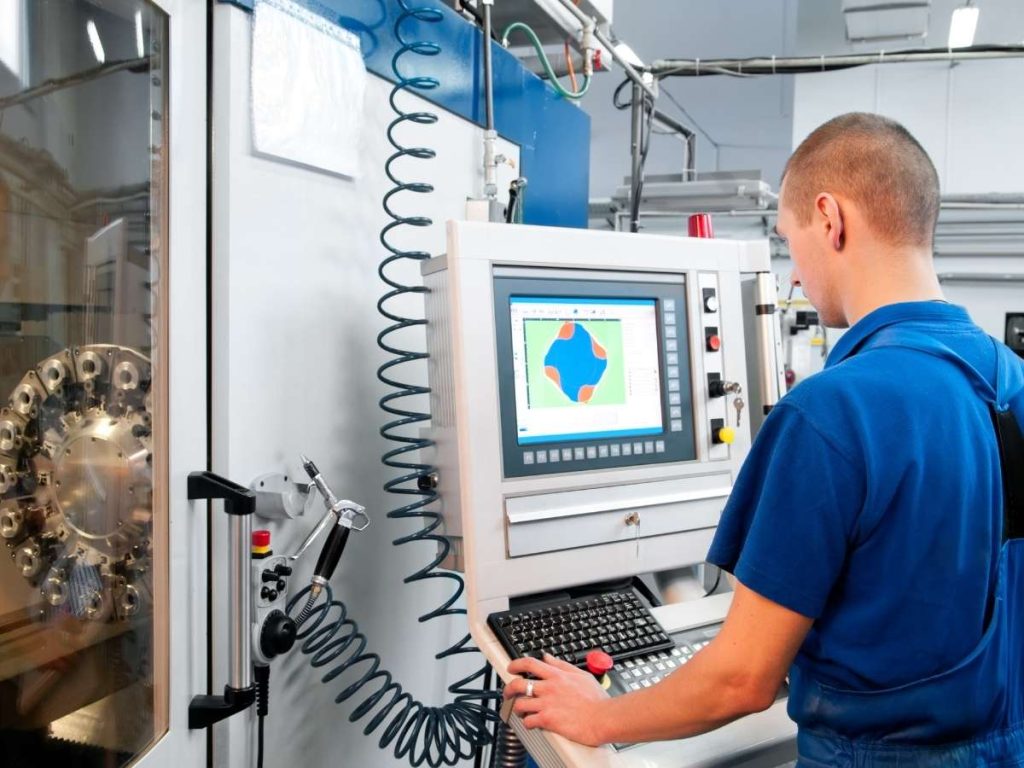
Different types of tolerances are used depending on the machining requirements. Selecting the correct tolerance type ensures proper function, fit, and manufacturability of machined components.
Dimensional Tolerances
These control the allowable deviation in the size of a part’s features, such as length, width, or diameter. For example, a part dimension of 50.00 mm ± 0.02 mm means the actual measurement can range from 49.98 mm to 50.02 mm.
Tighter dimensional tolerances require more precise machining processes and high-quality tools to maintain accuracy. However, overly strict tolerances can increase production costs and machining time, making it important to balance precision with efficiency.
Geometric Tolerances
These define the allowable variation in a part’s shape, position, or orientation. This ensures that machined parts meet their intended design specifications while maintaining functional reliability.
- Flatness: Ensures a surface remains within a specified flatness deviation. If a part has a flatness tolerance of 0.05 mm, no point on the surface can deviate beyond that range.
- Parallelism: Controls how parallel two surfaces must be in relation to each other. A parallelism tolerance of 0.02 mm ensures the surfaces remain within that allowable variation across their length.
- Concentricity: Ensures that two cylindrical features share the same central axis. This is critical for rotating parts, such as shafts and bearings, to maintain proper balance and alignment.
Fit Tolerances
These determine how two parts fit together, affecting assembly ease and performance. The correct fit tolerance prevents unnecessary movement or excessive force requirements in assembled components.
- Clearance Fit: Parts can move freely within the given tolerance range without interference. This is commonly used for sliding or rotating components, such as shafts in bearings.
- Interference Fit: Parts are designed to be slightly larger than the hole they fit into, requiring force to assemble. This type of fit creates a strong hold and is often used in press-fit applications.
Surface Finish Tolerances
These specify how smooth or rough a machined surface should be to meet functional and aesthetic requirements. Surface roughness is measured in Ra (Roughness Average), where a lower Ra value indicates a smoother finish.
- A rough surface finish (high Ra value) is acceptable for parts where appearance and friction control are not critical. These include structural components or surfaces that will be coated or painted.
- A fine surface finish (low Ra value) is necessary for parts requiring minimal friction, such as sealing surfaces or precision mating parts. Achieving a low Ra value may require secondary processes like polishing or grinding.
3. Industry Standards for CNC Machining Tolerances
Tolerances aren’t just numbers pulled out of thin air, they’re based on well-established industry standards that keep manufacturers on the same page. Early in my career, I underestimated the importance of these standards and ended up with parts that didn’t match up with components from another supplier. That mistake cost time, money, and a lot of frustration.
ISO 2768 (General Tolerances)
Used across the globe, ISO 2768 sets standard tolerance ranges based on part size and the level of precision required. It’s especially useful for mechanical and industrial components, ensuring consistency without requiring detailed tolerance specifications on every drawing.
Most manufacturers default to ISO 2768 when no other tolerance standard is specified. This simplifies design and production while keeping parts within reasonable tolerance limits for their intended function.
ASME Y14.5 (GD&T – Geometric Dimensioning & Tolerancing)
If you’ve worked with engineering drawings in the U.S., you’ve probably come across ASME Y14.5. This standard lays out a structured approach to defining geometric tolerances, ensuring that parts meet functional requirements regardless of the supplier.
GD&T (Geometric Dimensioning & Tolerancing) is a game-changer when working with complex assemblies. It removes ambiguity by specifying tolerances for shape, position, and orientation, which helps avoid costly manufacturing errors.
ANSI B4.1 (Preferred Limits & Fits)
This standard is all about ensuring proper fits between shafts and holes, whether they need to slide smoothly or be press-fit together. If you’ve ever struggled with a part that’s too loose or too tight, it’s likely because the correct fit tolerance wasn’t followed.
ANSI B4.1 categorizes fits into clearance, transition, and interference, making it easy to select the right tolerance for the job. Following this standard prevents surprises during assembly and keeps production running smoothly.
Aerospace & Medical Standards
Some industries can’t afford even the slightest deviation in tolerances, lives depend on it. Aerospace and medical components require the highest precision, and these industries have strict standards in place:
- AS9100 (Aerospace): Aircraft and spacecraft parts must meet extremely tight tolerances to ensure safety and reliability. A small error could lead to catastrophic failure, which is why AS9100 compliance is non-negotiable.
- ISO 13485 (Medical Devices): Medical implants, surgical tools, and diagnostic equipment must be machined with extreme accuracy. A slight tolerance deviation could affect how a medical device functions, putting patient safety at risk.
Following these industry standards isn’t just about meeting regulations, it’s about producing reliable, high-quality parts that work as expected. Sticking to the right tolerances prevents headaches down the line, saving time, money, and potential rework.
4. Factors That Affect CNC Machining Tolerances
Even with the best machines, maintaining tight tolerances isn’t always easy. Several factors influence machining accuracy, and overlooking them can lead to costly deviations.
- Machine Capability: Not all CNC machines are designed for the same level of precision. High-end models with rigid structures and advanced control systems hold tolerances better than basic or older machines.
- Tool Wear: Cutting tools gradually wear down, causing slight dimensional variations in machined parts. Regular inspections and timely tool replacements help maintain precision throughout production.
- Material Properties: Different materials react differently during machining, affecting final dimensions. Metals can expand from heat, while plastics may warp under stress, requiring process adjustments.
- Environmental Conditions: Temperature and humidity fluctuations can cause CNC machines and raw materials to expand or contract. Climate-controlled environments help reduce these effects and improve machining consistency.
- Operator Skill & Setup: Even the most advanced CNC machines rely on proper setup and calibration. Skilled operators and standardized procedures help prevent human errors that impact tolerances.
5. Common Challenges & Solutions in CNC Tolerances
Even with high-precision CNC machines, maintaining tight tolerances isn’t always straightforward. Small deviations can accumulate and cause major issues in part functionality, fit, and assembly, leading to costly rework or production delays.
| Challenge | Cause | Solution |
| Inconsistent Part Dimensions | Tool wear, improper calibration, or fluctuations in machine stability. | Regularly check and recalibrate machines, replace cutting tools before they wear out, and use automated measurement systems to monitor accuracy in real-time. |
| Warping & Deformation | Heat buildup during machining, especially in thin or flexible materials. | Use gradual cutting passes, optimize cooling methods, and choose stress-relieved materials to minimize distortion. |
| Poor Surface Finish | Dull cutting tools, incorrect spindle speeds, or excessive vibration. | Ensure cutting tools are sharp, adjust spindle speeds to match the material, and use stable machine setups to reduce vibration. |
| Misalignment in Assemblies | Incorrect fit tolerances, thermal expansion, or assembly misalignment. | Verify fit tolerances during design, compensate for thermal expansion, and use precise alignment tools during assembly. |
| Unexpected Tolerance Stack-Up | Accumulated small tolerance variations causing final assembly issues. | Perform tolerance stack-up analysis during the design phase and tighten tolerances in critical areas to avoid misalignment. |
6. Tips to Improve CNC Machining Accuracy & Tolerances
Over the years, I’ve seen how small adjustments in processes, tools, and machine setup can make a huge difference in precision. A well-optimized machining process not only reduces errors but also improves efficiency, minimizes waste, and keeps production costs under control.
Optimize Machine Setup & Calibration
CNC machines need regular setup checks and calibrations to maintain precision. Even a high-end machine can produce inconsistent results if it’s not properly aligned and calibrated.
Using precision calibration tools like laser alignment systems helps detect misalignment early and ensures the machine is set correctly before production starts. Regular machine warm-up cycles, especially in temperature-sensitive environments, stabilize the spindle and prevent tolerance deviations.
Use High-Quality Tooling & Maintain It Regularly
The cutting tool is one of the biggest factors affecting accuracy. A worn or low-quality tool can introduce dimensional inconsistencies and rough finishes.Investing in high-quality carbide or diamond-coated tools extends tool life and improves cutting precision. Monitoring tool wear through scheduled inspections or automated tracking ensures tools are replaced before they affect accuracy.
Improve Inspection & Quality Control Methods
Even the most precise CNC setup can drift over time, making in-process inspection critical. Detecting errors early prevents costly rework and scrap. Using Coordinate Measuring Machines (CMM) and high-precision gauges allows real-time measurement of parts during production. Implementing Statistical Process Control (SPC) techniques helps identify trends and prevent errors before they cause defects.
Refine Machining Processes & Cutting Parameters
Fine-tuning machining parameters improves both accuracy and efficiency. Proper settings reduce the risk of tolerance errors caused by cutting forces or thermal expansion.
Optimizing feed rates, spindle speeds, and depth of cut ensures smooth and stable machining without introducing stress on the material. Adjusting coolant application helps manage heat buildup and prevents dimensional changes in heat-sensitive materials.
Conclusion
Remember that moment in the shop? Where the part looked perfect, but wasn’t?
Now you understand why it happened. This article explained what CNC accuracy really means, how tolerances are measured, and how different machines compare. Whether you’re using mills or EDMs, even small missteps can add up.
The good news? You can fix this. Right now. With the right tools, calibration routines, and support, like from Blue Elephant, you’ll get ahead of problems.
Contact us today. Let’s take your CNC accuracy to the next level.
Recommended Reads for You
Interested in more? Here are some additional articles with insights and tips to keep you informed:
Still haven’t found what you’re looking for? Don’t hesitate to contact us. We’re available around the clock to assist you.


