There are two parts. Firstly, measure the length of tool.Secondly, calculate the offset.
The steps are as follows.
The first part is measuring the length of tool.
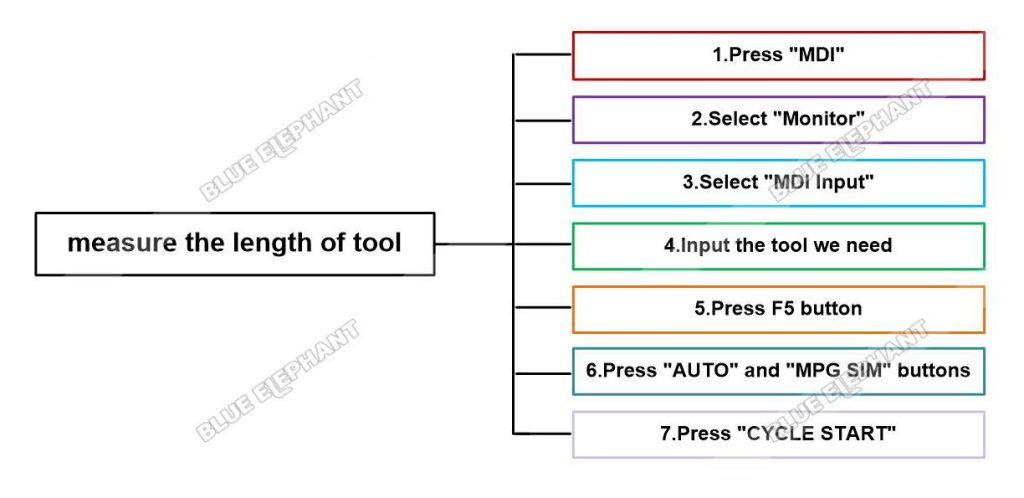
Press “MDI”,enter MDI mode
Select “Monitor”
Select “MDI Input”
Clear the date and input the tool we need
for example,we need 3 tools.Then we can input T1,T2,T3
Press F5 button in the control panel.The function of this button is to measure the length of tool.
Press “AUTO” and “MPG SIM” buttons. The “MPG SIM”button is an optional choice.If you are very familiar with the machine and program,there is no need to open this function.
Press “CYCLE START” to measure.
Press F5 button in the control panel after measuring was done.
The second part is calculating the offset.
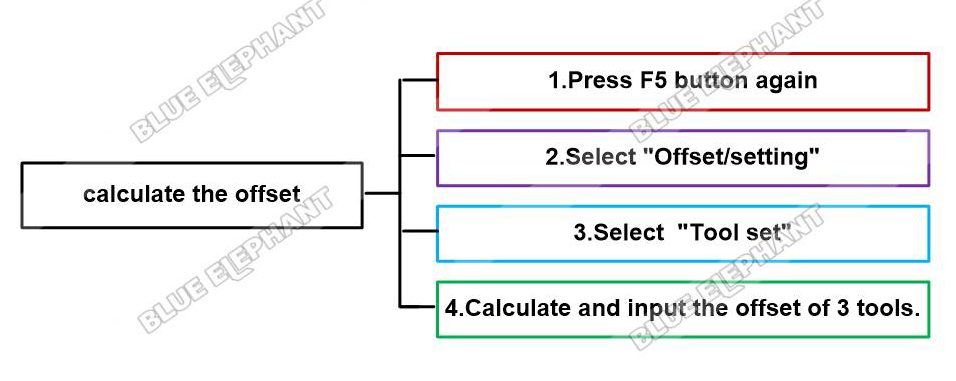
After measuring,press F5 button again to close the function.
Back to maintain interface.Select “Offset/setting”
Select “Tool set”
Calculate and input the offset of 3 tools.
4.1) If we use T1 to set the workpiece zero point,we need take value of T1 as standard reference.
The Length(H) of T1 is “T1-T1”,
The Length(H) of T2 is “T2-T1”,
The Length(H) of T3 is “T3-T1”.
(Be careful of the symbol.)
4.2) If we use T2 to set the workpiece zero point,we need take value of T2 as standard reference.
The Length(H) of T1 is “T1-T2”,
The Length(H) of T2 is “T2-T2”,
The Length(H) of T3 is “T3-T2”.
(Be careful of the symbol.)
4.3) If we use T3 to set the workpiece zero point,we need take value of T3 as standard reference.
The same method as above.
The video is as follow.


